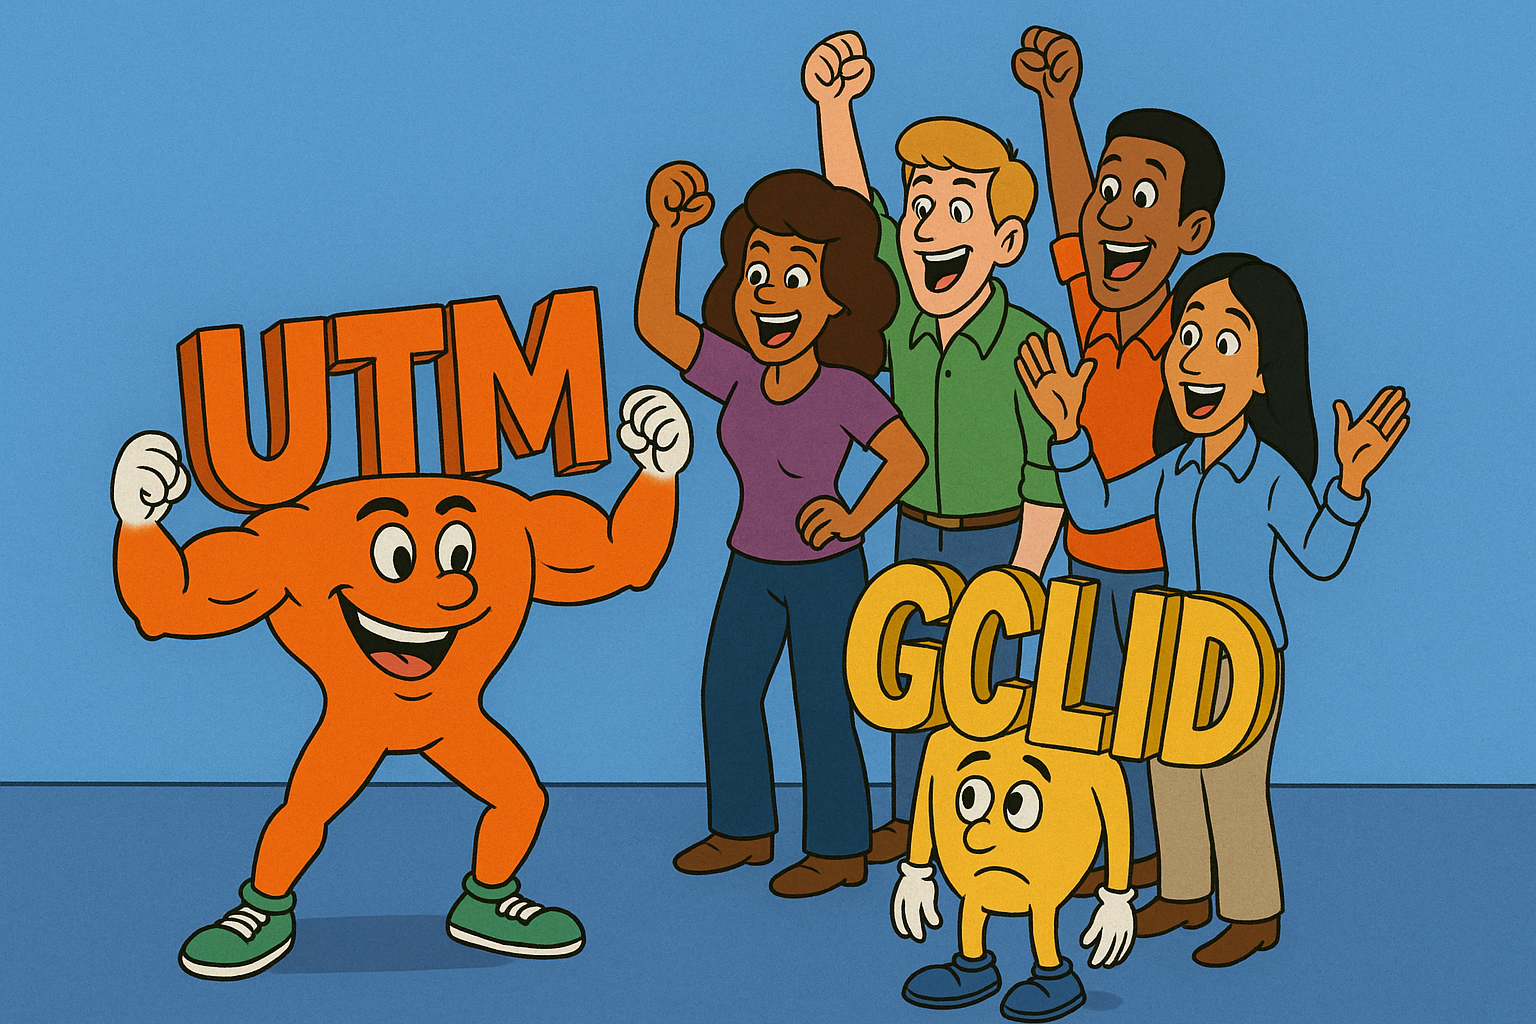
How to add UTMs in Google Ads for better attribution
Are you wrestling with Google Ads traffic appearing in GA4 as (organic) or (direct), or needing Google Ads attribution data in your CRM? You’re not alone. If you’re looking for a robust, future-proof method to ensure every Google Ads click is accurately measured with UTMs just like all your other channels, you’re in the right place.
| Version | Date | Changes |
|---|---|---|
| 1 | 2025-05-20 | - Originally published. |
| 2 | 2026-03-03 | - Added efficiency loop to only run on active campaigns. - Added a check for name changes before running. - Added support for Pmax, Video and Shopping campaigns. - Added Ad group name. |
| 3 | 2026-03-11 | - Updated campaign type compatibility. - Added compatibility check in 'processItems' function. |
Intro
There are any number of reasons that you may need to add UTMs into your Google Ads ads. For example:
- When Google Ads traffic is appearing in GA4 as '(organic)' or '(direct)'
- If you need to pass attribution data into your CRM or other
- To be able to personalise the landing page experience based on the Google Ads Campaign or Ad group in your CRO tool
Just like Microsoft Ads, Meta Ads and every other marketing channel, UTMs are the standard for channel tracking and attribution — and Google Ads is no exception. And until Google Ads has an option to do this for us automatically (like Microsoft Ads does), we have to do this manually ourselves.
I’ve seen a number of ‘solutions’ to this — generally using Google Ads Scripts and customising the campaign-level tracking templates. However, tracking templates aren’t designed for UTM injection — they’re for redirect tracking i.e. the ones used by SA360.
Instead, the Final URL suffix is designed exactly for applying query string parameters - perfect for adding UTMs!
So here’s my (better) UTM solution for Google Ads…
Step 1: Script
The reason we need a script is because the Campaign and Ad group name is not available as a ValueTrack parameter in Google Ads (only the IDs are), so we need to create it as a custom parameter.
To do this, create a new Google Ads script and add the following code:
// -------------------------------
// By Daniel Perry-Reed
// https://kickflipanalytics.com/
//
// Run script daily and add the following to the account-level final URL suffix:
// utm_medium=cpc&utm_source=google&utm_campaign={_campaignname}&utm_content={_adgroupname}
// -------------------------------

function main() {
  Logger.log("Starting update for account: " + AdsApp.currentAccount().getCustomerId());

  // DEFINE CAMPAIGN SELECTORS
  // We process these different types using the same logic (except Video campaign types which are not supported)
  var campaignTypes = [
    { selector: AdsApp.campaigns(), label: "Search/Display" },
    { selector: AdsApp.performanceMaxCampaigns(), label: "PMax" },
    { selector: AdsApp.shoppingCampaigns(), label: "Shopping" }
  ];

  // PROCESS CAMPAIGNS
  campaignTypes.forEach(function(item) {
    var campaigns = item.selector.withCondition("Status = ENABLED").get();
    processItems(campaigns, "campaignname", item.label);
  });

  // PROCESS AD GROUPS
  // Note: PMax doesn't have standard Ad Groups, but Video and Shopping does
  var adGroups = AdsApp.adGroups()
    .withCondition("Status = ENABLED")
    .withCondition("CampaignStatus = ENABLED")
    .get();
  processItems(adGroups, "adgroupname", "Ad Group");
  Logger.log("Update cycle complete.");
}

// Shared helper function to handle name-checking and updating logic
function processItems(iterator, paramName, typeLabel) {
  while (iterator.hasNext()) {
    var entity = iterator.next();

    // SAFETY CHECK
    // Does this entity actually support URL modifications?
    if (typeof entity.urls !== 'function') {
      Logger.log("Skipped " + typeLabel + " '" + entity.getName() + "': URL modification is not supported via scripts.");
      continue;
    }

    var entityName = entity.getName();
    var encodedName = encodeURIComponent(entityName);
    var urlCustomParams = entity.urls().getCustomParameters();

    // Only update if the parameter is missing or doesn't match the current name
    if (urlCustomParams[paramName] !== encodedName) {
      urlCustomParams[paramName] = encodedName;
      entity.urls().setCustomParameters(urlCustomParams);
      Logger.log("UPDATED " + typeLabel + ": " + entityName);
    }
  }
}
Give the script a name like "Custom parameter sync: daily" and click save.
Now to test the script. Don't skip this step!
- Authenticate your Google Account if not already done so, there should be a banner asking you to do it if you haven't yet.
- Click 'preview' at the bottom right. The script will run in a preview mode without applying any changes.
- Check the results at the bottom of the screen where you'll see that the {_campaignname} and {_adgroupname} should be added as campaign-level and ad group-level custom parameter respectively. Make sure nothing else is changed!
When happy, enable the run schedule for daily. I normally chose 23:00–00:00, but you can set it to what you like here - even run it hourly if you so wish.
Step 2: Final URL suffix
Now, let's make use of these new {_campaignname} and {_adgroupname} parameters.
Head to Admin > Account settings and then expand Tracking.
Add the below to the Final URL Suffix:
utm_medium=cpc&utm_source=google&utm_campaign={_campaignname}&utm_content={_adgroupname}Click save, and you're done. That's it!
Compatibility
We are beholdant to what the Google Ads API supports in Google Ads Scripts. And that means not all campaign types support this method of setting custom parameters. Below are the known limitations:
| Campaign type | {{_campaignname}} | {{_adgroupname}} |
|---|---|---|
| Search / Display | YES | YES |
| Shopping | YES | YES |
| Video | NO | NO |
| Pmax | YES | NO |
Video: These are not supported, so the custom parameters will need to be added manually via Google Ads Editor, or in the UI.
Pmax: These campaigns do not have Ad groups, instead they use Asset groups. And Asset groups do not currently support custom parameters.
Customisations and adjustments
You may have noticed that this script and UTM parameters are only applying and using the Campaign and the Ad group name, and not the ad, keyword, etc.
If you need/want these more granular fields, you can ChatGPT your way to an updated script setting the additional custom parameters at the level you require. Or hard-code or use the default ValueTrack parameters if you wish. The Final URL suffix will remain at the account-level however, just add/update the UTMs to use your custom fields as you so wish.
.
If you don't need the Campaign or Ad group names in your UTMs, and happy with just the IDs, you can skip the script altogether. I.e. you can then use the standard ValueTrack parameter {campaignid} for both the utm_campaign.
Conclusion
Whatever approach you take here, it's essential for marketers to use UTM parameters across ALL marketing links to measure the performance as accurately as possible - Google Ads is no exception.
Feel free to use my method detailed above, or adapt to fit your needs. Full disclosure, I used generative AI and a lot of refining and testing to get this code to where it is. This post however is all 100% me - whether that's good or not is up to you!
Find me on LinkedIn if you have any questions or suggestions.
This is a solution I originally developed at Data to Value while working with some great marketing teams , so a massive thank you to my colleagues and clients that I worked with to help me figure this out and develop this approach!